Big Walk Walkthrough: Drawbridge, Red Tower & Beyond
Last verified: September 1, 2026 · Following the real order of the island: drawbridge, then the towers, then the tunnels.
Big Walk doesn't use quest markers, arrows or checklists — so a walkthrough looks different here than in most games. Instead of "go here, do that", the game hands you a beautiful island and trusts you and your friends to make your own path. This walkthrough follows the order most groups actually take it: the tutorial, the drawbridge that opens the island, and the tower chain that unlocks everything else.
How Progress Works — Big Walk Walkthrough Mechanics
Before the first step, it helps to understand the shape of the game. Big Walk is a hand-crafted adventure with a beginning, middle and end. The host's save file tracks everything, so progress carries across sessions — you and your friends can chip away at the island night after night.
If your save predates version 1.4.9, a challenge could reset itself right after you completed it — and then stay impossible to finish. The 1.5.1 patch fixes exactly that: update the game and a challenge stuck in that loop can finally be completed.
- The host is the keeper of the world. They start the session, hold the save, and when they stop playing, everyone disconnects. The host also picks the world version: 2-player, 3-player or 4+ player. Some puzzles change to fit that choice.
- Keys open the way. Progression runs on keys — not inventory keys in the usual sense, but physical objects you find, cut and carry between machines. Every major gate on the island works the same way: collect the rewards, cut the key, unlock the next place.
- The towers gate the island. Five colored towers — Red, Green, Blue, Yellow and Black — each hide a reward behind their puzzles: a map room, a chairlift, the trains, a tunnel, the final sphere. Finish the tower's puzzles and the island opens up another notch.
- You're never told what to do. There are no prompts. Landmarks, telescopes and the map room exist so you can point and say "let's go there".
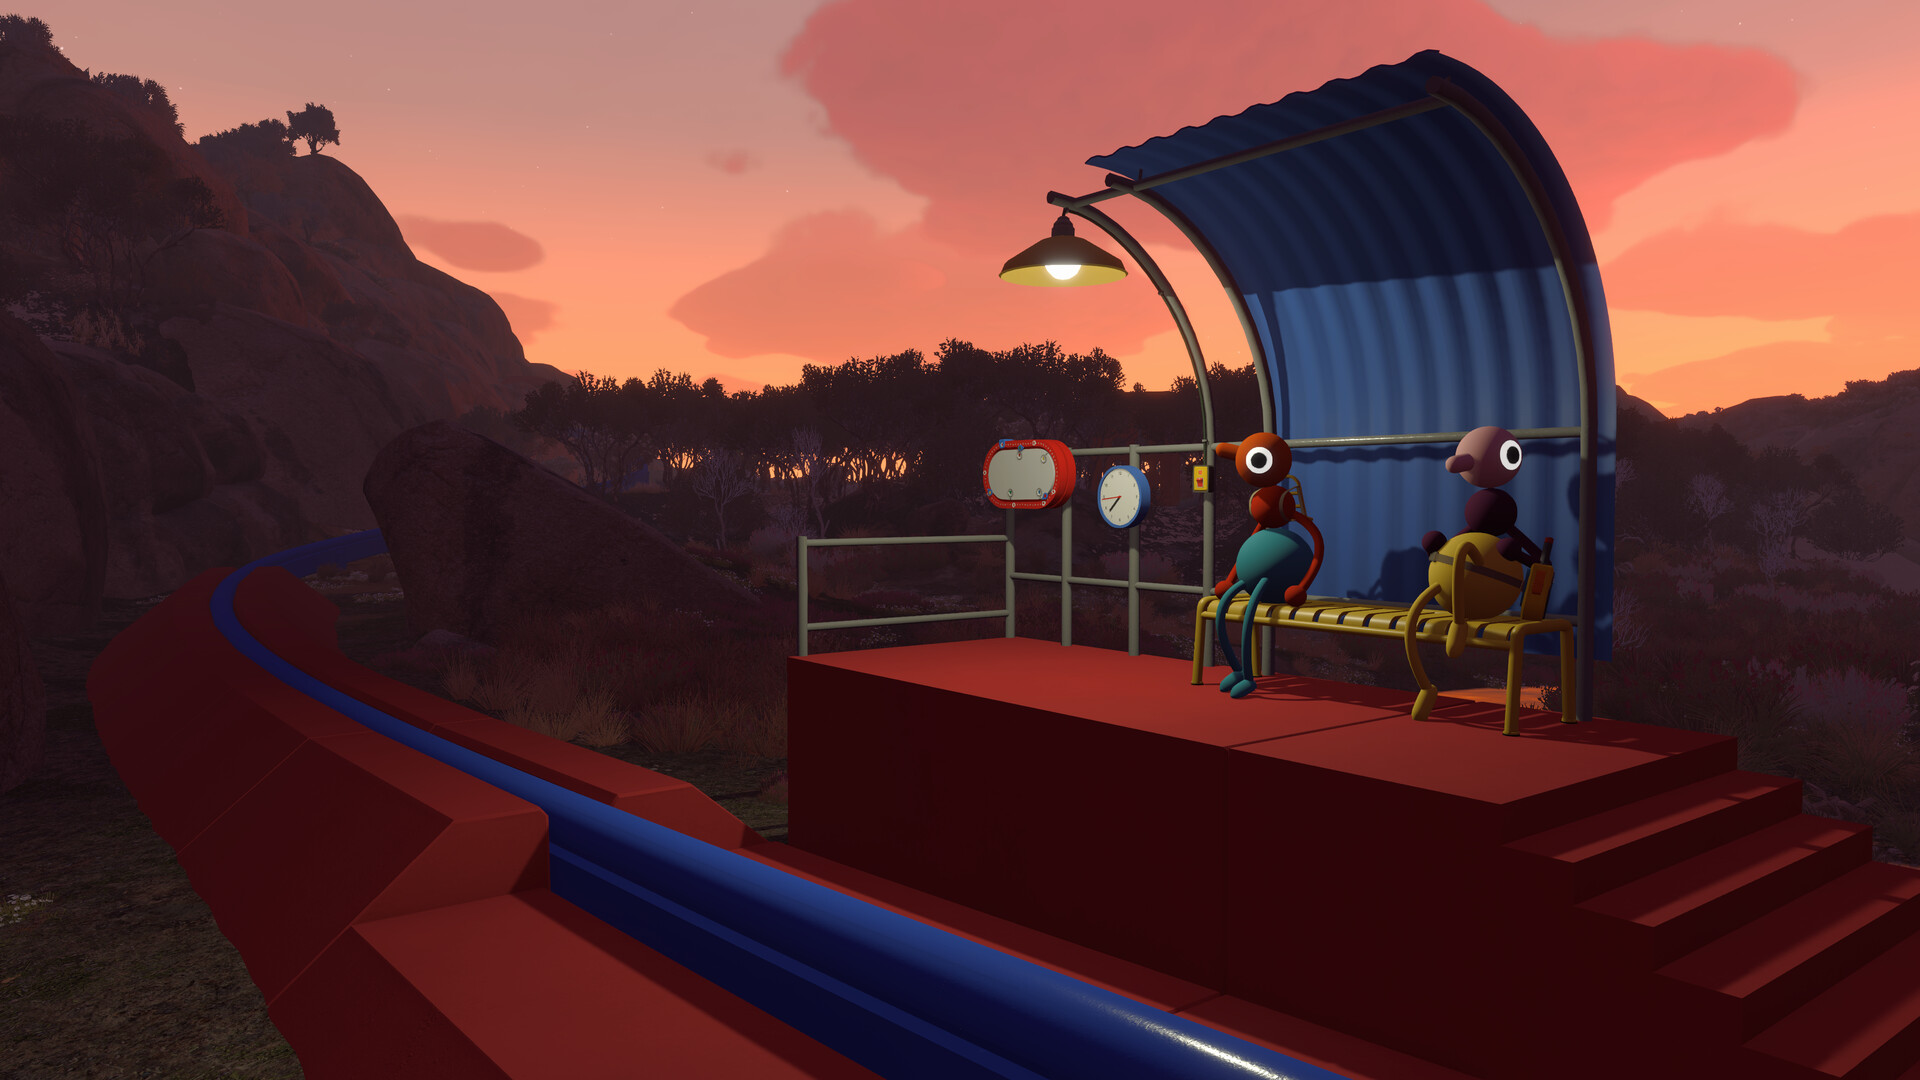
Every walk begins in the same little hall.
Walkthrough Step 1: The Tutorial Hall
Every Big Walk session starts in a small indoor hall (players have taken to calling it the gymnasium). A doorway leads outside, but before you rush out, the game quietly teaches you everything your body can do — and it's a surprising amount.
- Movement: walk, run, jump and crouch. You can also sit down with your legs crossed, which becomes a surprisingly important social tool.
- Carrying: pick up objects, hold them over your head, throw them, kick them away — and, crucially, pick up other players. One player can carry another, and two can even lift someone together.
- Stacking: crouch and let a friend climb onto your shoulders. Stack two players to reach a high button; the noclip crew famously escaped the tutorial auditorium this way.
- Hand signals: point, wave and gesture. You'll rely on these long before you think you will.
Don't leave the hall until everyone has tried sitting, carrying and stacking. Those three moves are the foundation of half the puzzles in the game. And yes — the island does have a day/night cycle, and it's fine to dawdle. The moon is pretty.
Step 2: The Lost & Found
In the gymnasium where each session begins, look for a beige platform with a Lost & Found sign. This is the game's inventory safety net: whatever you and your group were holding when the last session ended — backpacks, radios, tools, your map — is waiting right here when you load back in. If a tool went missing between sessions, check the Lost & Found before anything else. (Held items and everything stored in a backpack or belt count, so make sure someone is holding what you want to keep when the host wraps up the session.)
Step 3: Getting Your Bearings
With the tutorial behind you, the island opens up. The first landmarks most groups discover:
- The beach. A wide stretch of sand and ocean on one side of the tutorial grounds — a natural first destination and a good place to learn how far your voice carries.
- The tower with a telescope. Climbing to a high point and scoping the island is the intended first step for orienting yourself. The telescope also reveals the glowing collectibles hidden across the island.
- Radio stations. Scattered across the world, each playing its own song. You can carry the music with you if you're in the mood.
- The map room. A giant 3D map of the island — but it's locked until you complete the Red Tower and cut its key. It's the destination of the "Big View" achievement, and the paper map inside is the island's most valuable navigation tool.
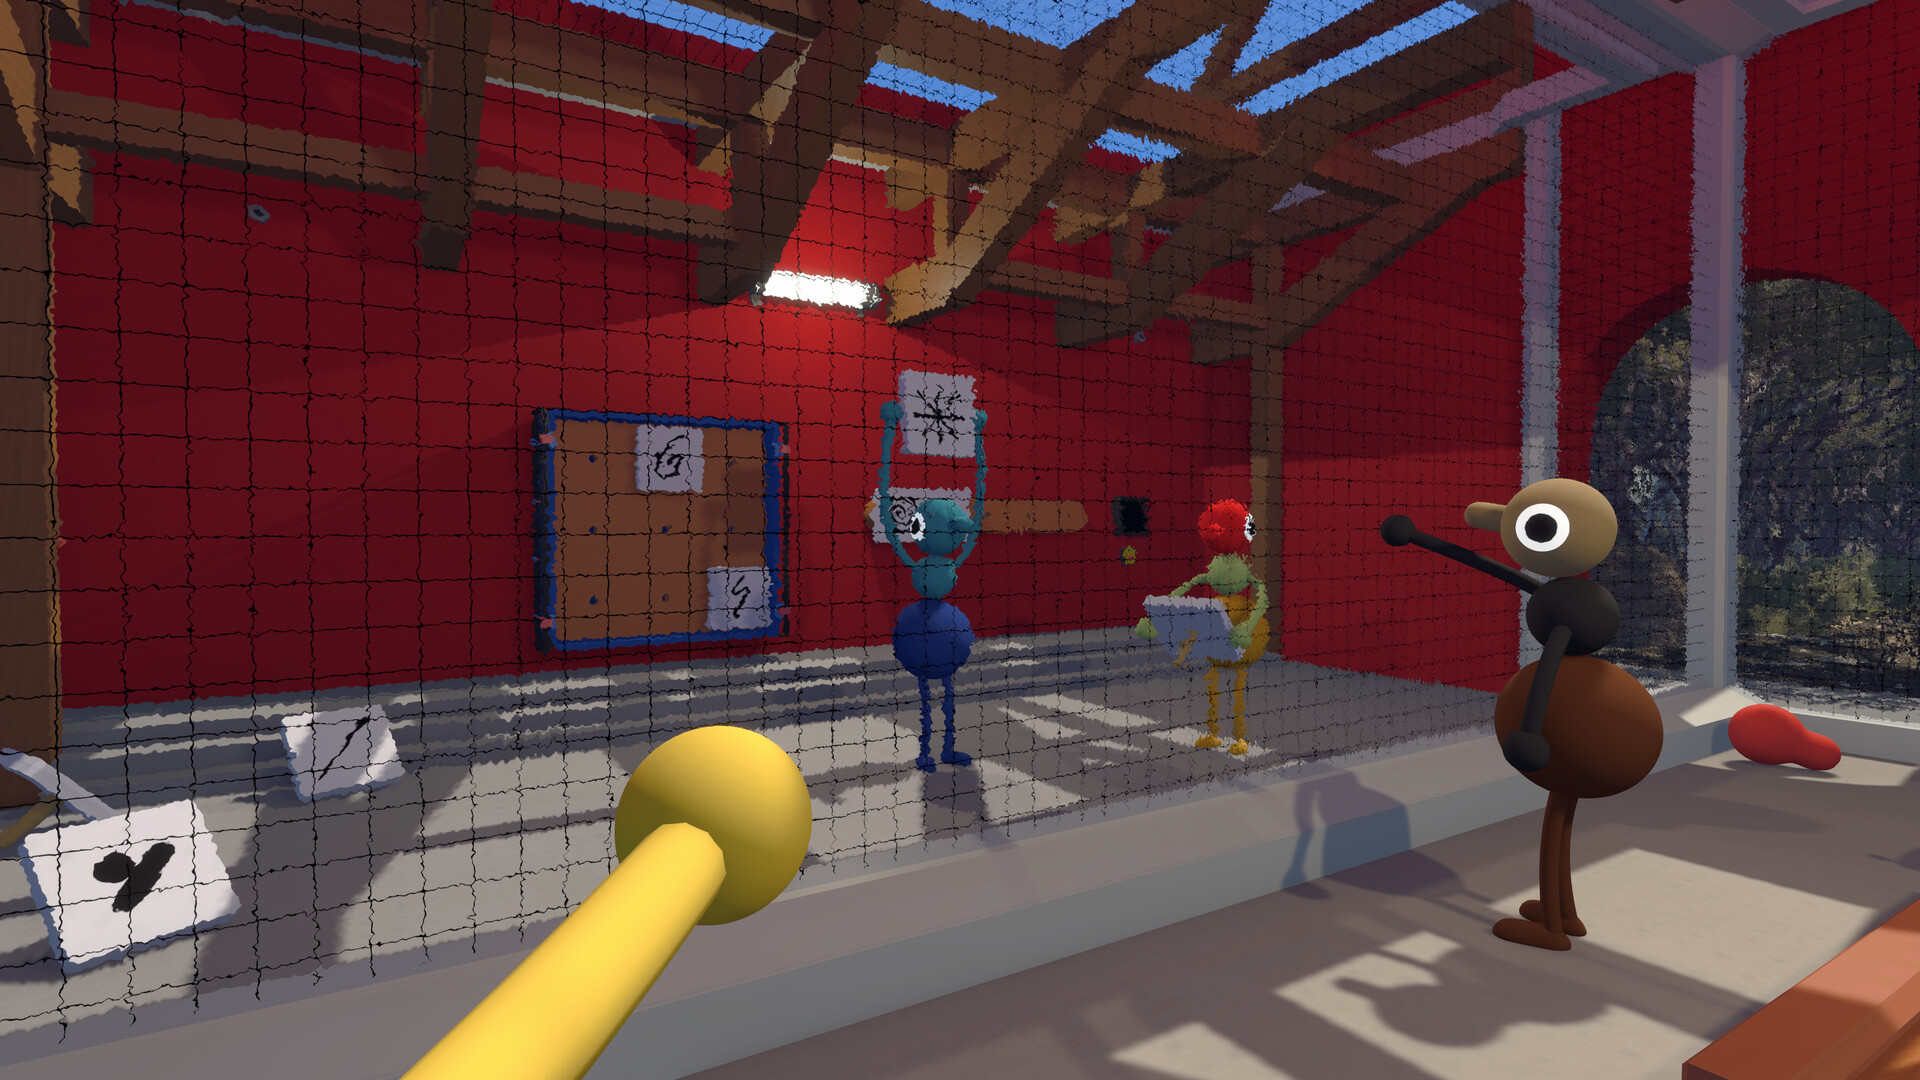
Pick a landmark, point at it, start walking.
Step 4: Your First Tools
Tools in Big Walk are scattered around the world, and most make puzzles easier without being strictly required. In the opening hours you'll come across:
- Backpacks & waist bags. Your hands aren't the only storage. Backpacks hold nearly any item; waist bags carry smaller ones. Both are found in circular blue buildings dotted around the island — 10 buildings, one bag each (the southernmost has two). The catch: you can't equip or unequip them without a friend's help, so bag management is a two-person job.
- Walkie-talkies. The most important tool in the game. They let two players talk over long distances when proximity chat has dropped. You'll find pairs around the world; splitting a pair between two players is the standard early-game strategy.
- Flashlight. Useful for dark spaces and for signaling at night.
- Binoculars & laser pointer. Both are for spotting and pointing at distant things — the laser pointer is surprisingly powerful for guiding a partner who's out of earshot.
- Flare. A bright signal you can fire to mark your position. Great for reunions when the group scatters.
- Megaphone. Broadcasts your voice further than proximity chat normally allows — handy when someone wandered off before grabbing a walkie-talkie.
There's no magic inventory screen. What you can carry is what your character can physically hold, plus whatever sits in a backpack or waist bag — and swapping gear takes a friend. Packing for a hike genuinely takes teamwork.
Step 5: The Drawbridge — Opening the Island
Your first real gate is the drawbridge, and it's the game's opening lesson in how Big Walk does progression: four small puzzles around the starting area each hide one gourd-shaped collectible, and all four are needed to build the key that lowers the bridge.
- Blue Room (the "peg puzzle"): one player gets sealed inside and describes a pattern; the player outside recreates it on a pegboard of tiles. Confetti means correct, and the gourd drops. Full deep-dive in the peg puzzle guide.
- Green Structure: switches on the columns must all be pressed at the same moment — assign one player per switch and a caller to count down.
- Mechanical Arm: the gourd hangs out of reach at the top of an L-shaped structure. Stack two players and let the top one hit the switch.
- Cave & Telescope: a sealed box among the rocks. One player stays at the telescope pressing the button — a red light marks the box and holds it open — while another runs over and grabs the gourd.
Drop the four gourds in the bridge's slots, grab the key that appears, and run it through all five key cutters — three north of the spot, two on the beach — following the arrow each one reveals. The finished key opens the drawbridge, and crossing it opens a shortcut back to the starting area so you never have to wait at the bridge again. Full solutions for each puzzle live in the puzzle guide.
Step 6: The Red Tower & the Map Room
On the far side of the drawbridge, a path up the hill (marked by a red key cutter) leads to the Red Tower — the first tower in the game's chain. Around it sit five challenges, each hiding a collectible:
- Green Room: one player locked inside calls out symbols; outside, a partner presses the matching symbols.
- Yellow Maze: a timer appears on one side of the maze and must be handed to the other side and placed on a green pot before it runs out.
- Train Station Cannon: one player fires a timer from the cannon; another chases it down and throws it to a partner on the platform, who places it on the green pot.
- Basketball Court: the easiest one — throw light bulbs through the baskets until all the court lights turn green.
- Mountain Gesture: one player scans five platforms through telescopes while a partner treks to each and performs the gesture shown there; the overlook player picks the matching gesture card.
Place the five rewards in the tower's roof slots, cut the key, and it opens the map room back by the spawn — a huge 3D map of the island with every puzzle marked, plus a paper map with coordinates along its edges. That paper map is the key to the 4166, 1899 puzzle and every other coordinate hunt on the island. Completing the Red Tower earns the "Big View" achievement.
Step 7: The Green Tower & the Chairlift
The Green Tower runs the same rhythm: five puzzles clustered nearby — the Orange Barn (a two-player trap-and-pegboard affair near the railway), the blue signal counting puzzle, the yellow stand meter puzzle, the two beach houses with their head-counting number puzzle, and the 4166, 1899 coordinate puzzle. Details for all five are in the puzzle guide.
Place the five rewards in the roof slots, cut the key through the tower's five cutters, and insert it at the chairlift station beside the tower. The chairs start moving — the "Big Sit" achievement pops, and the lift becomes the fastest way across the island, linking the Green Tower region toward the Blue, Yellow and Black Tower areas.
Step 8: The Yellow Tower & the Tunnels
The Yellow Tower is the fourth tower in the sequence (after Red, Green and Blue), and its puzzles are the game's hardest so far — including the infamous microphone sound check, where one listener must pick the live mic out of six by ear alone. The reward is the Yellow Tunnel at map coordinates 3500, 1620, southeast of the tower — past it lie a secret area and the final radio channel. The tower's key needs the usual treatment: five red control-panel pieces on the roof, then five key cutters, each arrow pointing to the next, with the last cutter sitting right at the tunnel entrance.
The final tower, Black, waits beyond — see the Black Tower & the Black Sphere section in the puzzle guide for the full chain.
The Railway
There's a railway curving through the island — three trains (red, yellow and green) sit parked on the loop until you restore the network, and riding one earns the "Big Ride" achievement. The activation chain is community-confirmed: solve five puzzles around the Blue Tower (3540, 1850) to collect five gourd-shaped prizes, place them in the five slots on the tower's roof to reveal the key, run it through the five blue key cutters near the tower (each cutter's arrow points to the next), and insert the finished key at the main train station (map coordinates 3380, 1740, northwest of the Blue Tower).
The trains then loop the island in a single direction and never stop — you board by jumping on while one is moving, and "Big Ride" only counts if the train is actually running. A conductor aboard can hold the lever inside the first carriage to pause the train briefly, and every station has a timetable board showing how far the next train is from your stop. Until the network is running, treat the tracks as a landmark: the railway curve is a useful reference point for several coordinate puzzles.
Key Decision Points
Big Walk's real "choices" aren't dialogue options — they're the constant micro-decisions of expedition logistics. Here are the ones that matter in the opening hours:
- Split up or stay together? Some puzzles demand side-by-side coordination; others demand one player trekking across the island alone. The question is always: can the lone walker stay in contact? If they can't, send a walkie-talkie pair or pick a meet-up point.
- Use the tool or solve without it? Walkie-talkies make the echo puzzles trivial, but the game is designed so tools are rarely required. Solving without the tool is often slower and much funnier. Both are valid.
- Who carries what? Inventory is physical and limited. Assign a map carrier, a tool carrier and a collectible carrier before setting out, or you'll spend the hike swapping bags.
- Where's the meet-up point? Before any long split, agree on a landmark — "the beach at sunrise" is the classic. The world is big and your voice is not.
Endings — Two Ways This Walk Can End
Big Walk has two endings, and the first one is only halfway through the story. Both are confirmed and line up with the game's own achievement list — "Big Goodbye" for the first ending, "Big Game" for the true one.
The First Ending
Complete all four colored towers — Red, Green, Yellow and Blue — to unlock the Black Tower, then collect the required puzzle rewards. Use the key to open the wall (that's the "Big Wall" achievement), and travel to the large black sphere in the distance. There are more puzzles to clear at the sphere itself; finishing them triggers the first ending and "Big Goodbye".
The last puzzle before the credits is a three-color gate: light the three colors in the right spots — each one matches a teammate's painted body part — and let each player pass through one by one into the white light beyond.
The True Ending (100%)
There's no branch to pick here — Big Walk has exactly two endings, and the true one only opens after the first. Keep playing the same save past the credits: seven purple gourd puzzles unlock across the island as harder remixes of challenges you've already solved, and every puzzle you skipped during the first run now counts against you. Clear the full set — all seven purple challenges plus every leftover regular puzzle — and the final reward you're working toward is the White Key.
The White Key is the completion test. It doesn't appear just because the purple puzzles are done: the 15-gourd delivery has to be finished too. Carry 15 gourds — the seven purple ones count toward the total — to the green dome building beside the train station (marked with a blue music-note icon) and drop them into its 15 slots. Inside, a red base with a yellow button opens a shortcut. If the White Key still hasn't appeared, something is incomplete: check the map room's model for tilted or flagless gourds, then head back and close those puzzles out.
With the White Key in hand, return to the spawn area where your walk began. The small black sphere on the wall there splits into two halves once your completion is high enough, revealing a hidden entrance between them. Use the White Key, head down into the hidden theater and follow the sequence to the end — the world fills with light as the group separates, and the "Big Game" achievement pops alongside full 100% completion.
Related Guides
Play Big Walk
Big Walk is out now on Steam, Mac App Store, PlayStation 5 and Switch 2. Grab your friends and start walking.